Car project (entry 3 of 4)
By kate on February 8th, 2010
(mouse over pictures for captions and click for bigger versions)
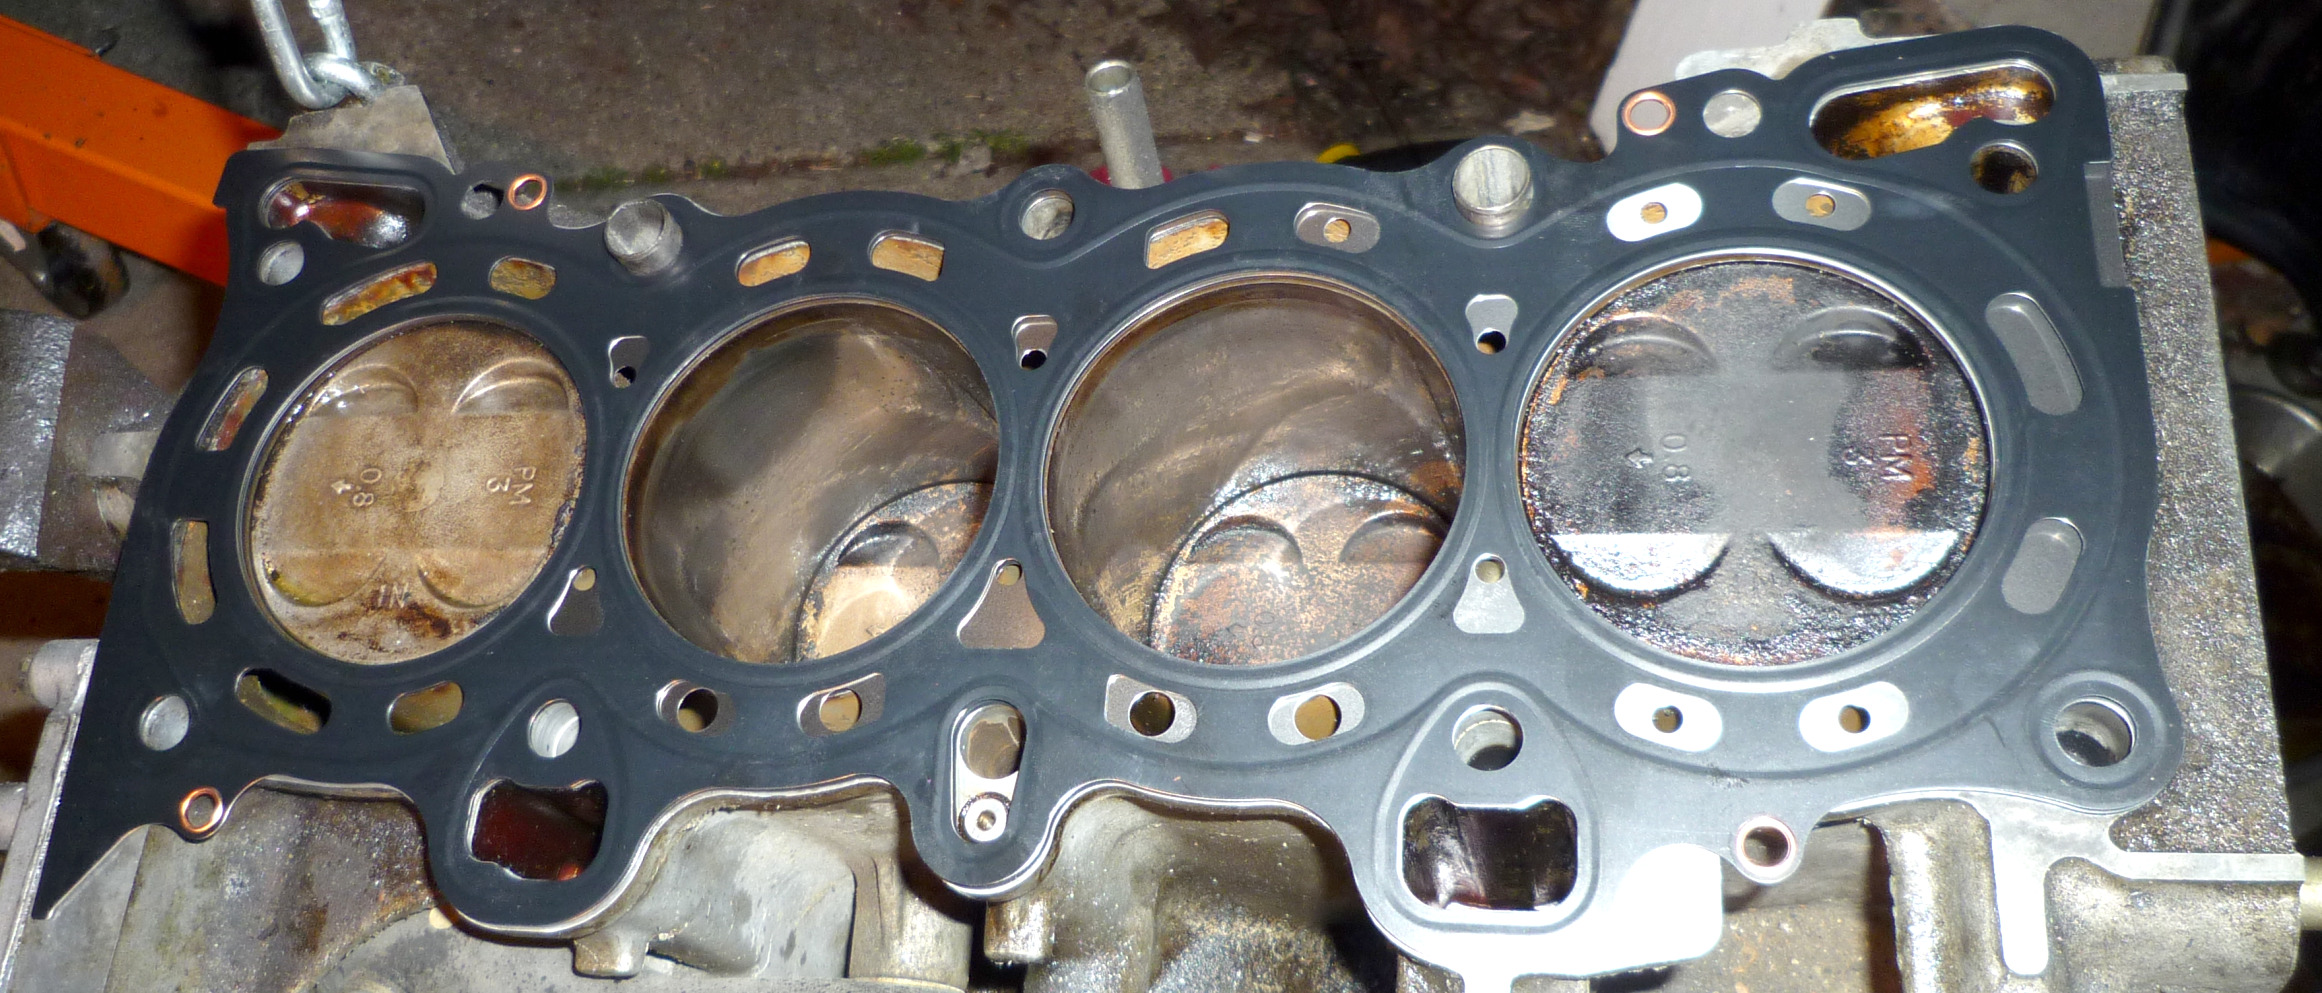
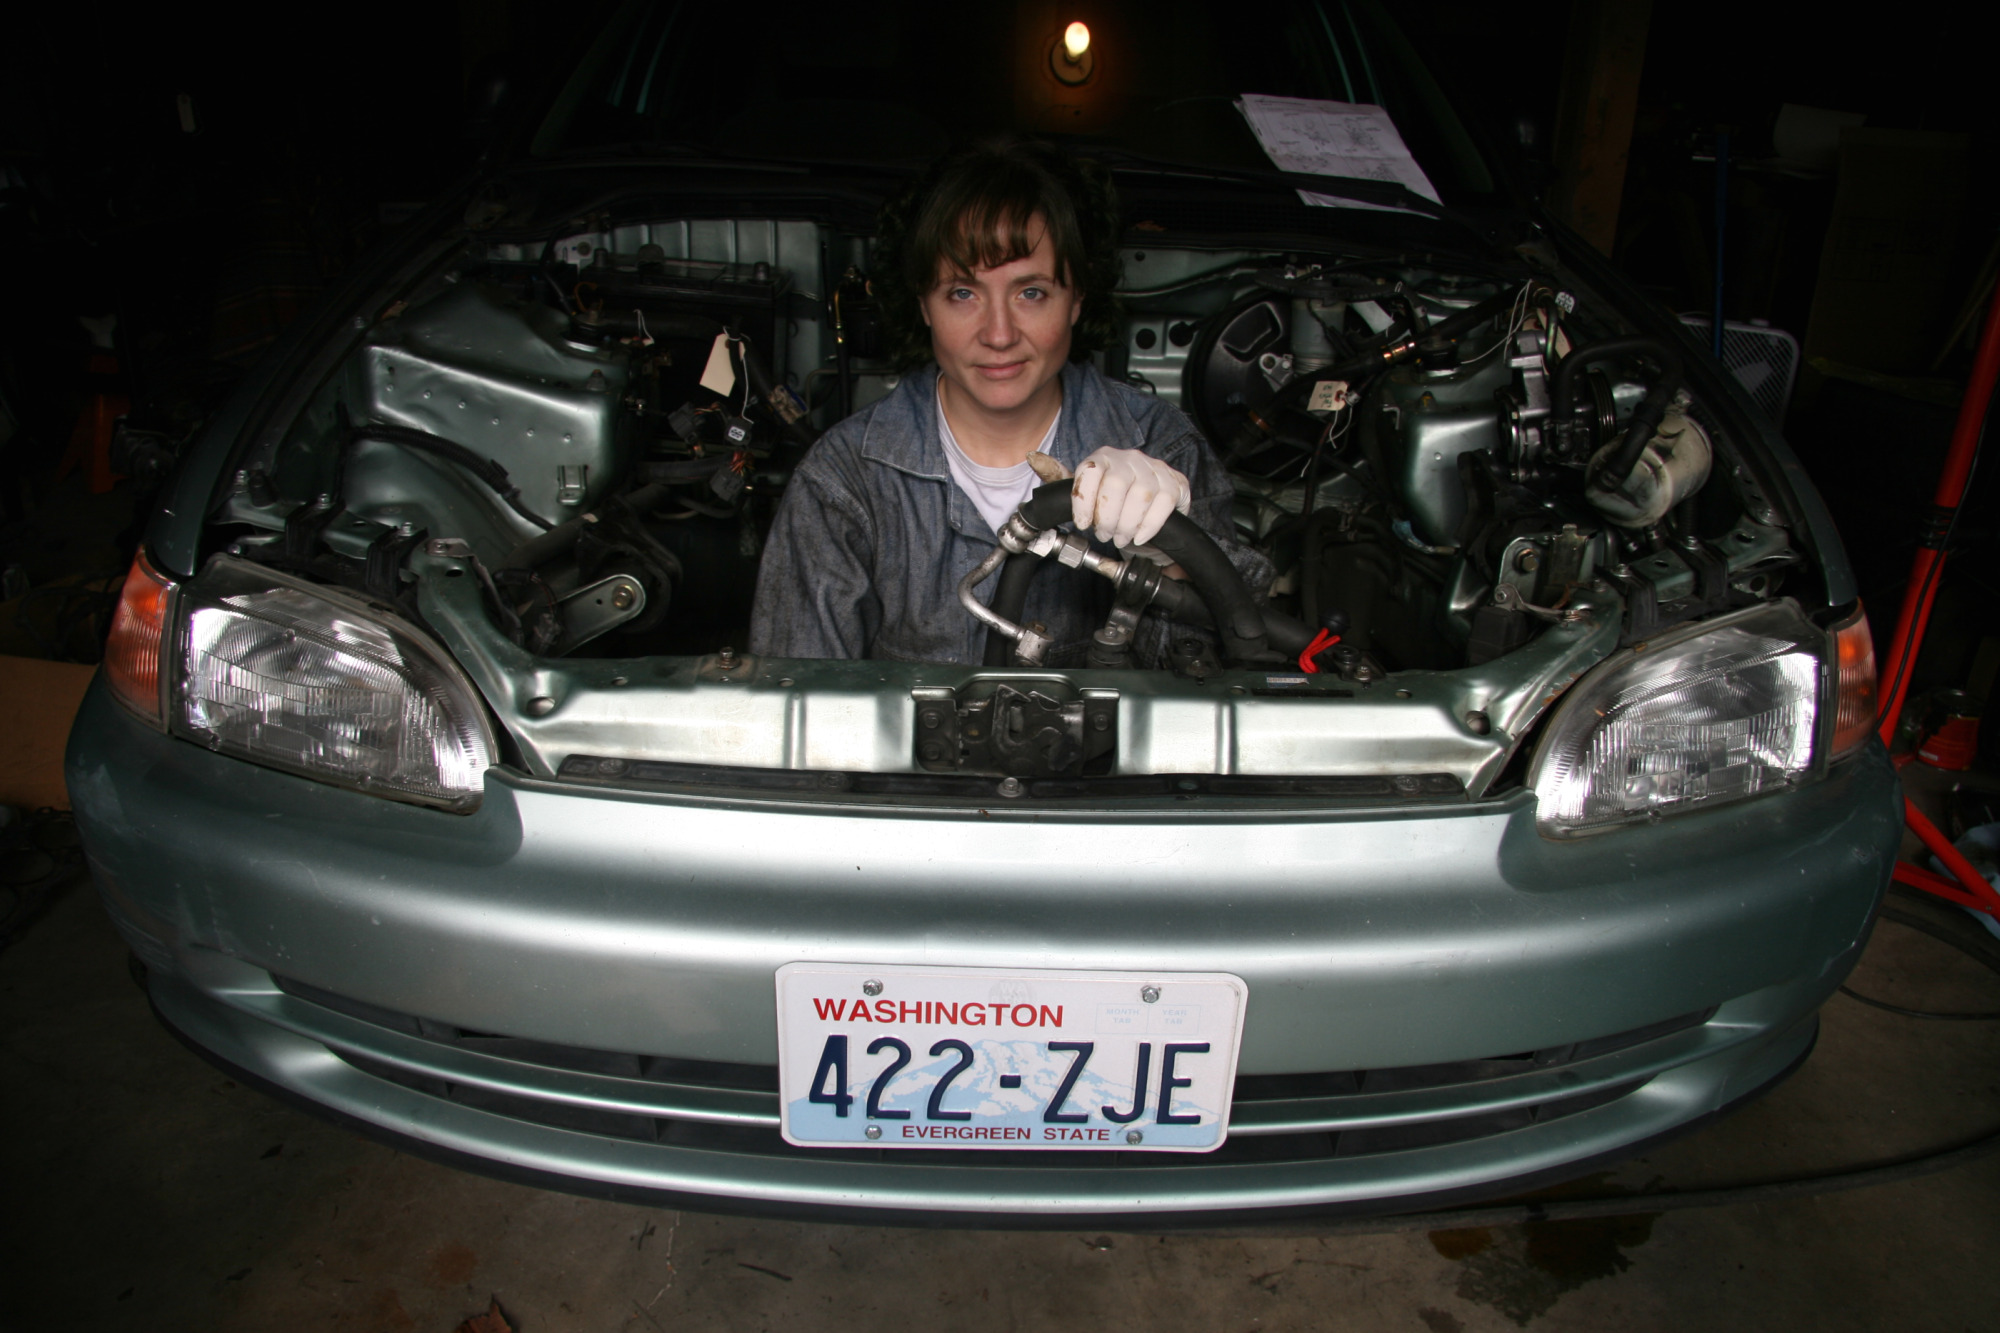
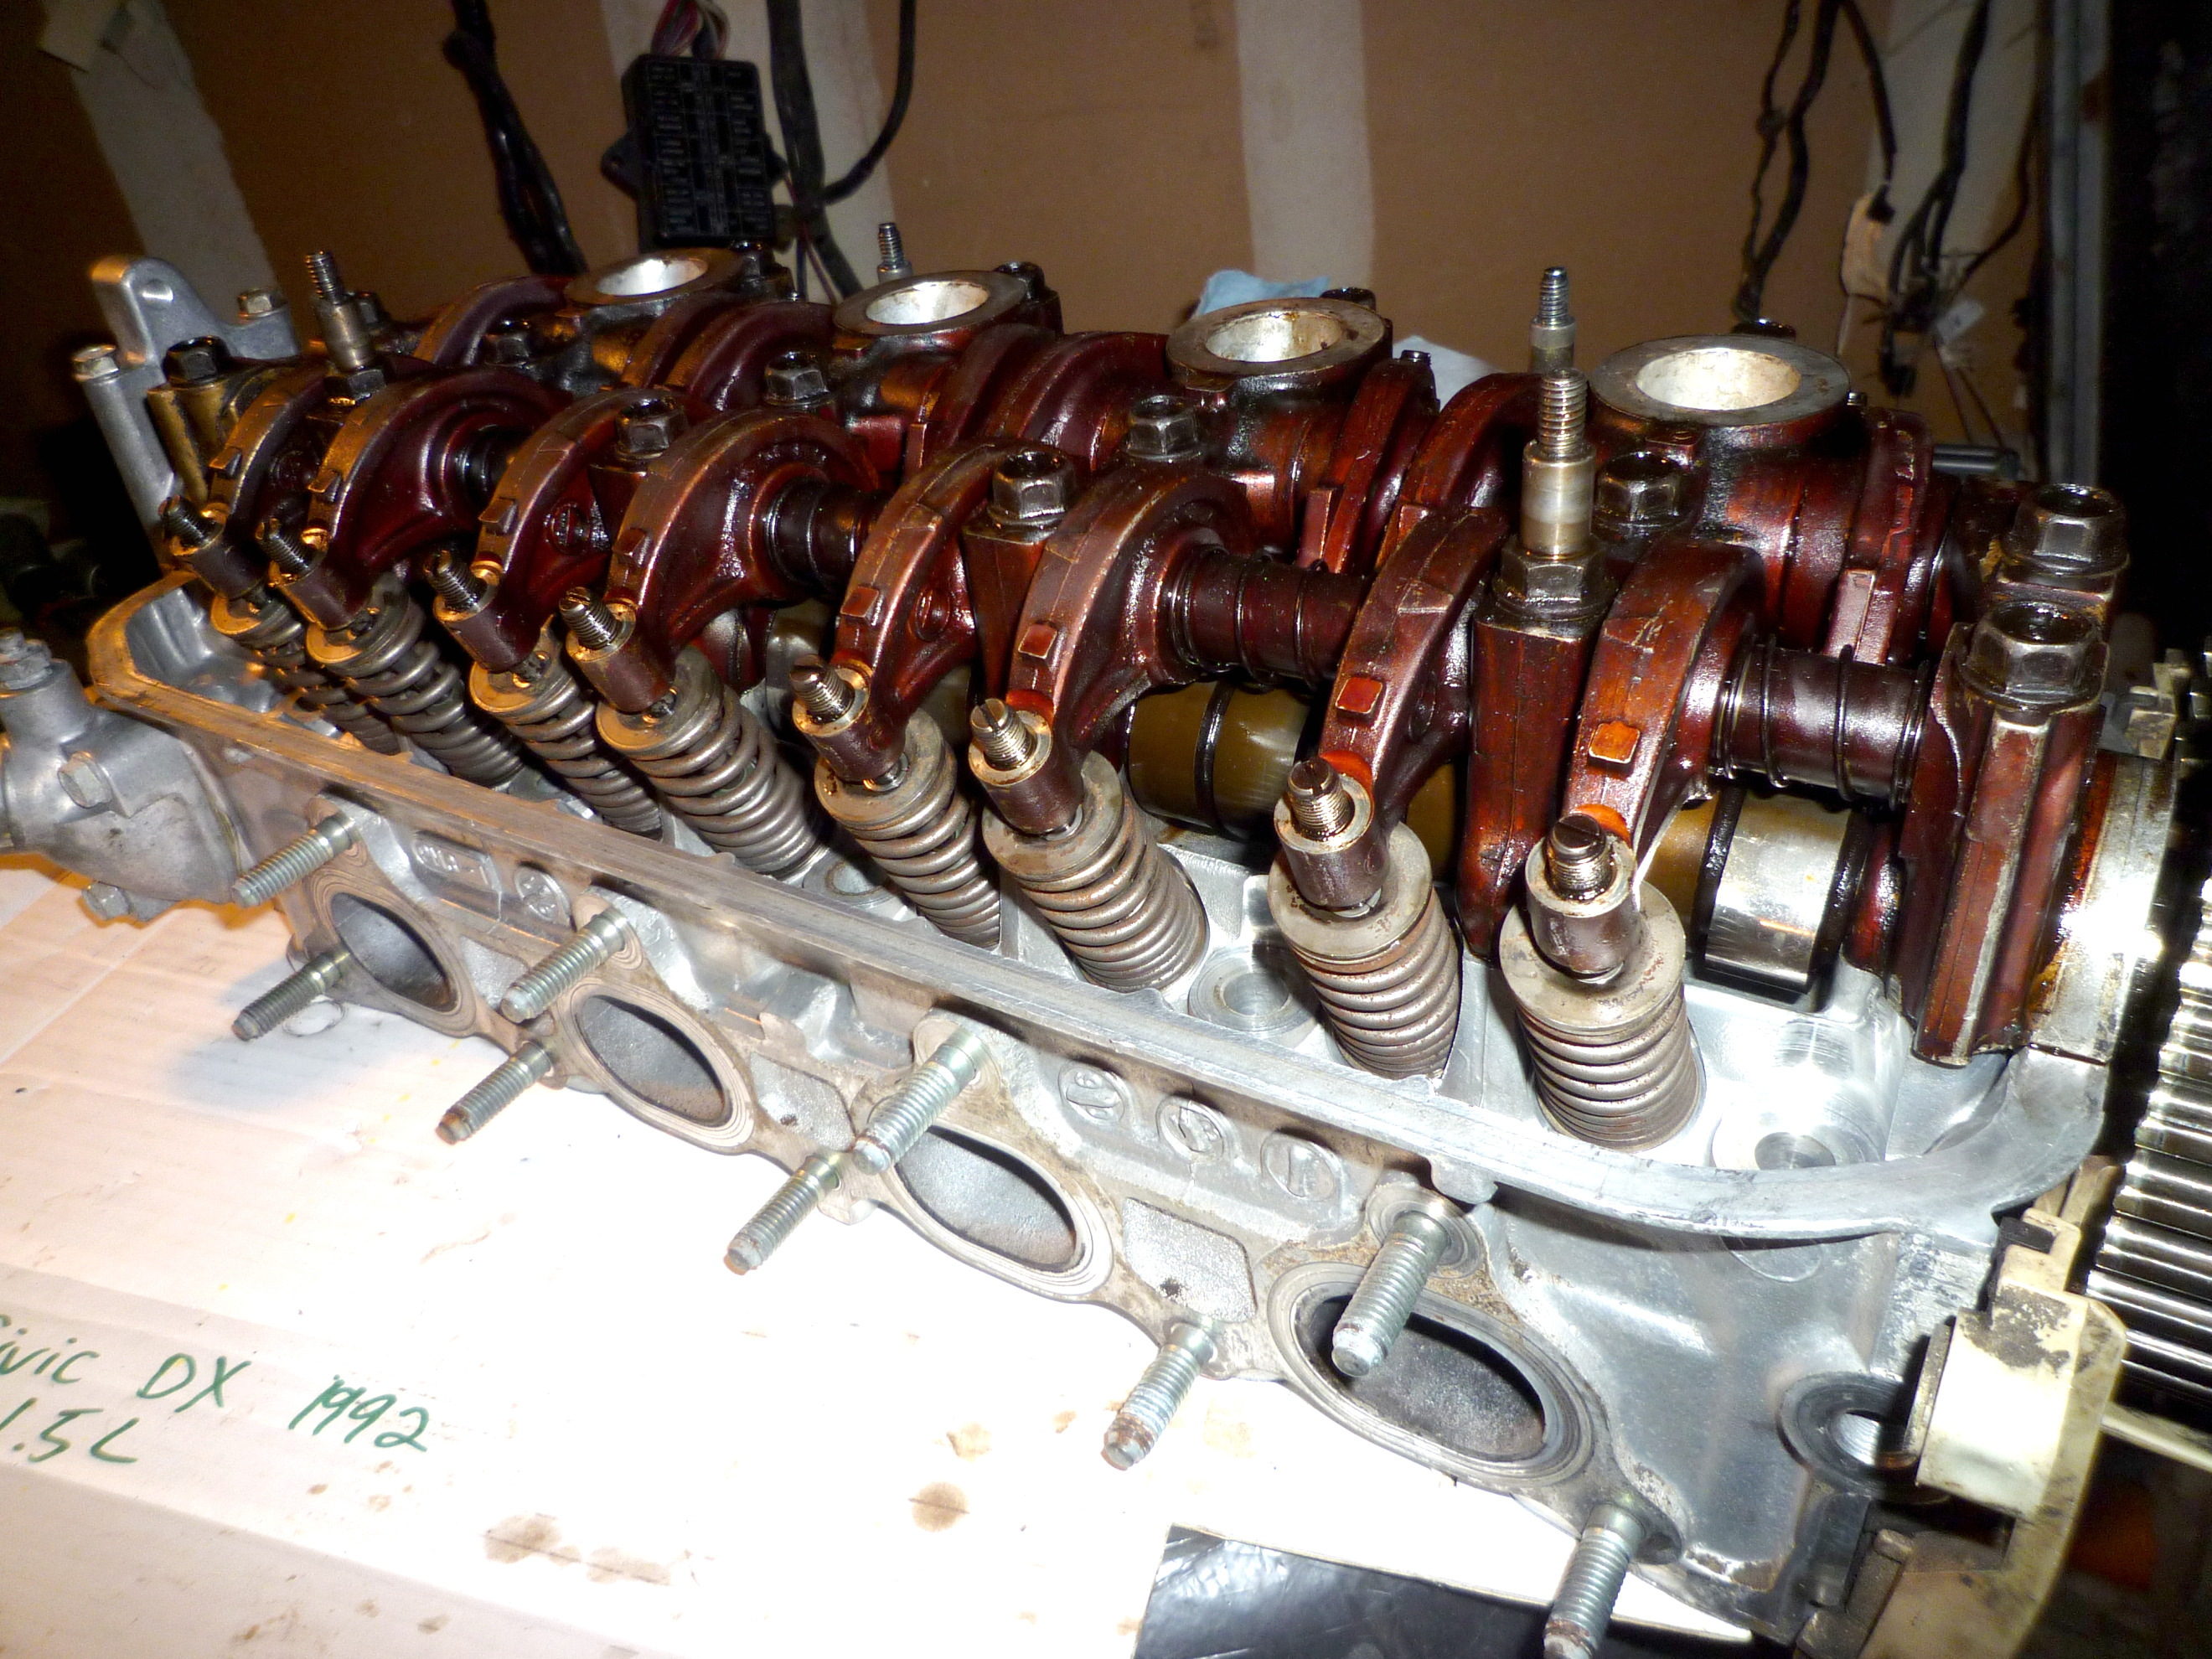
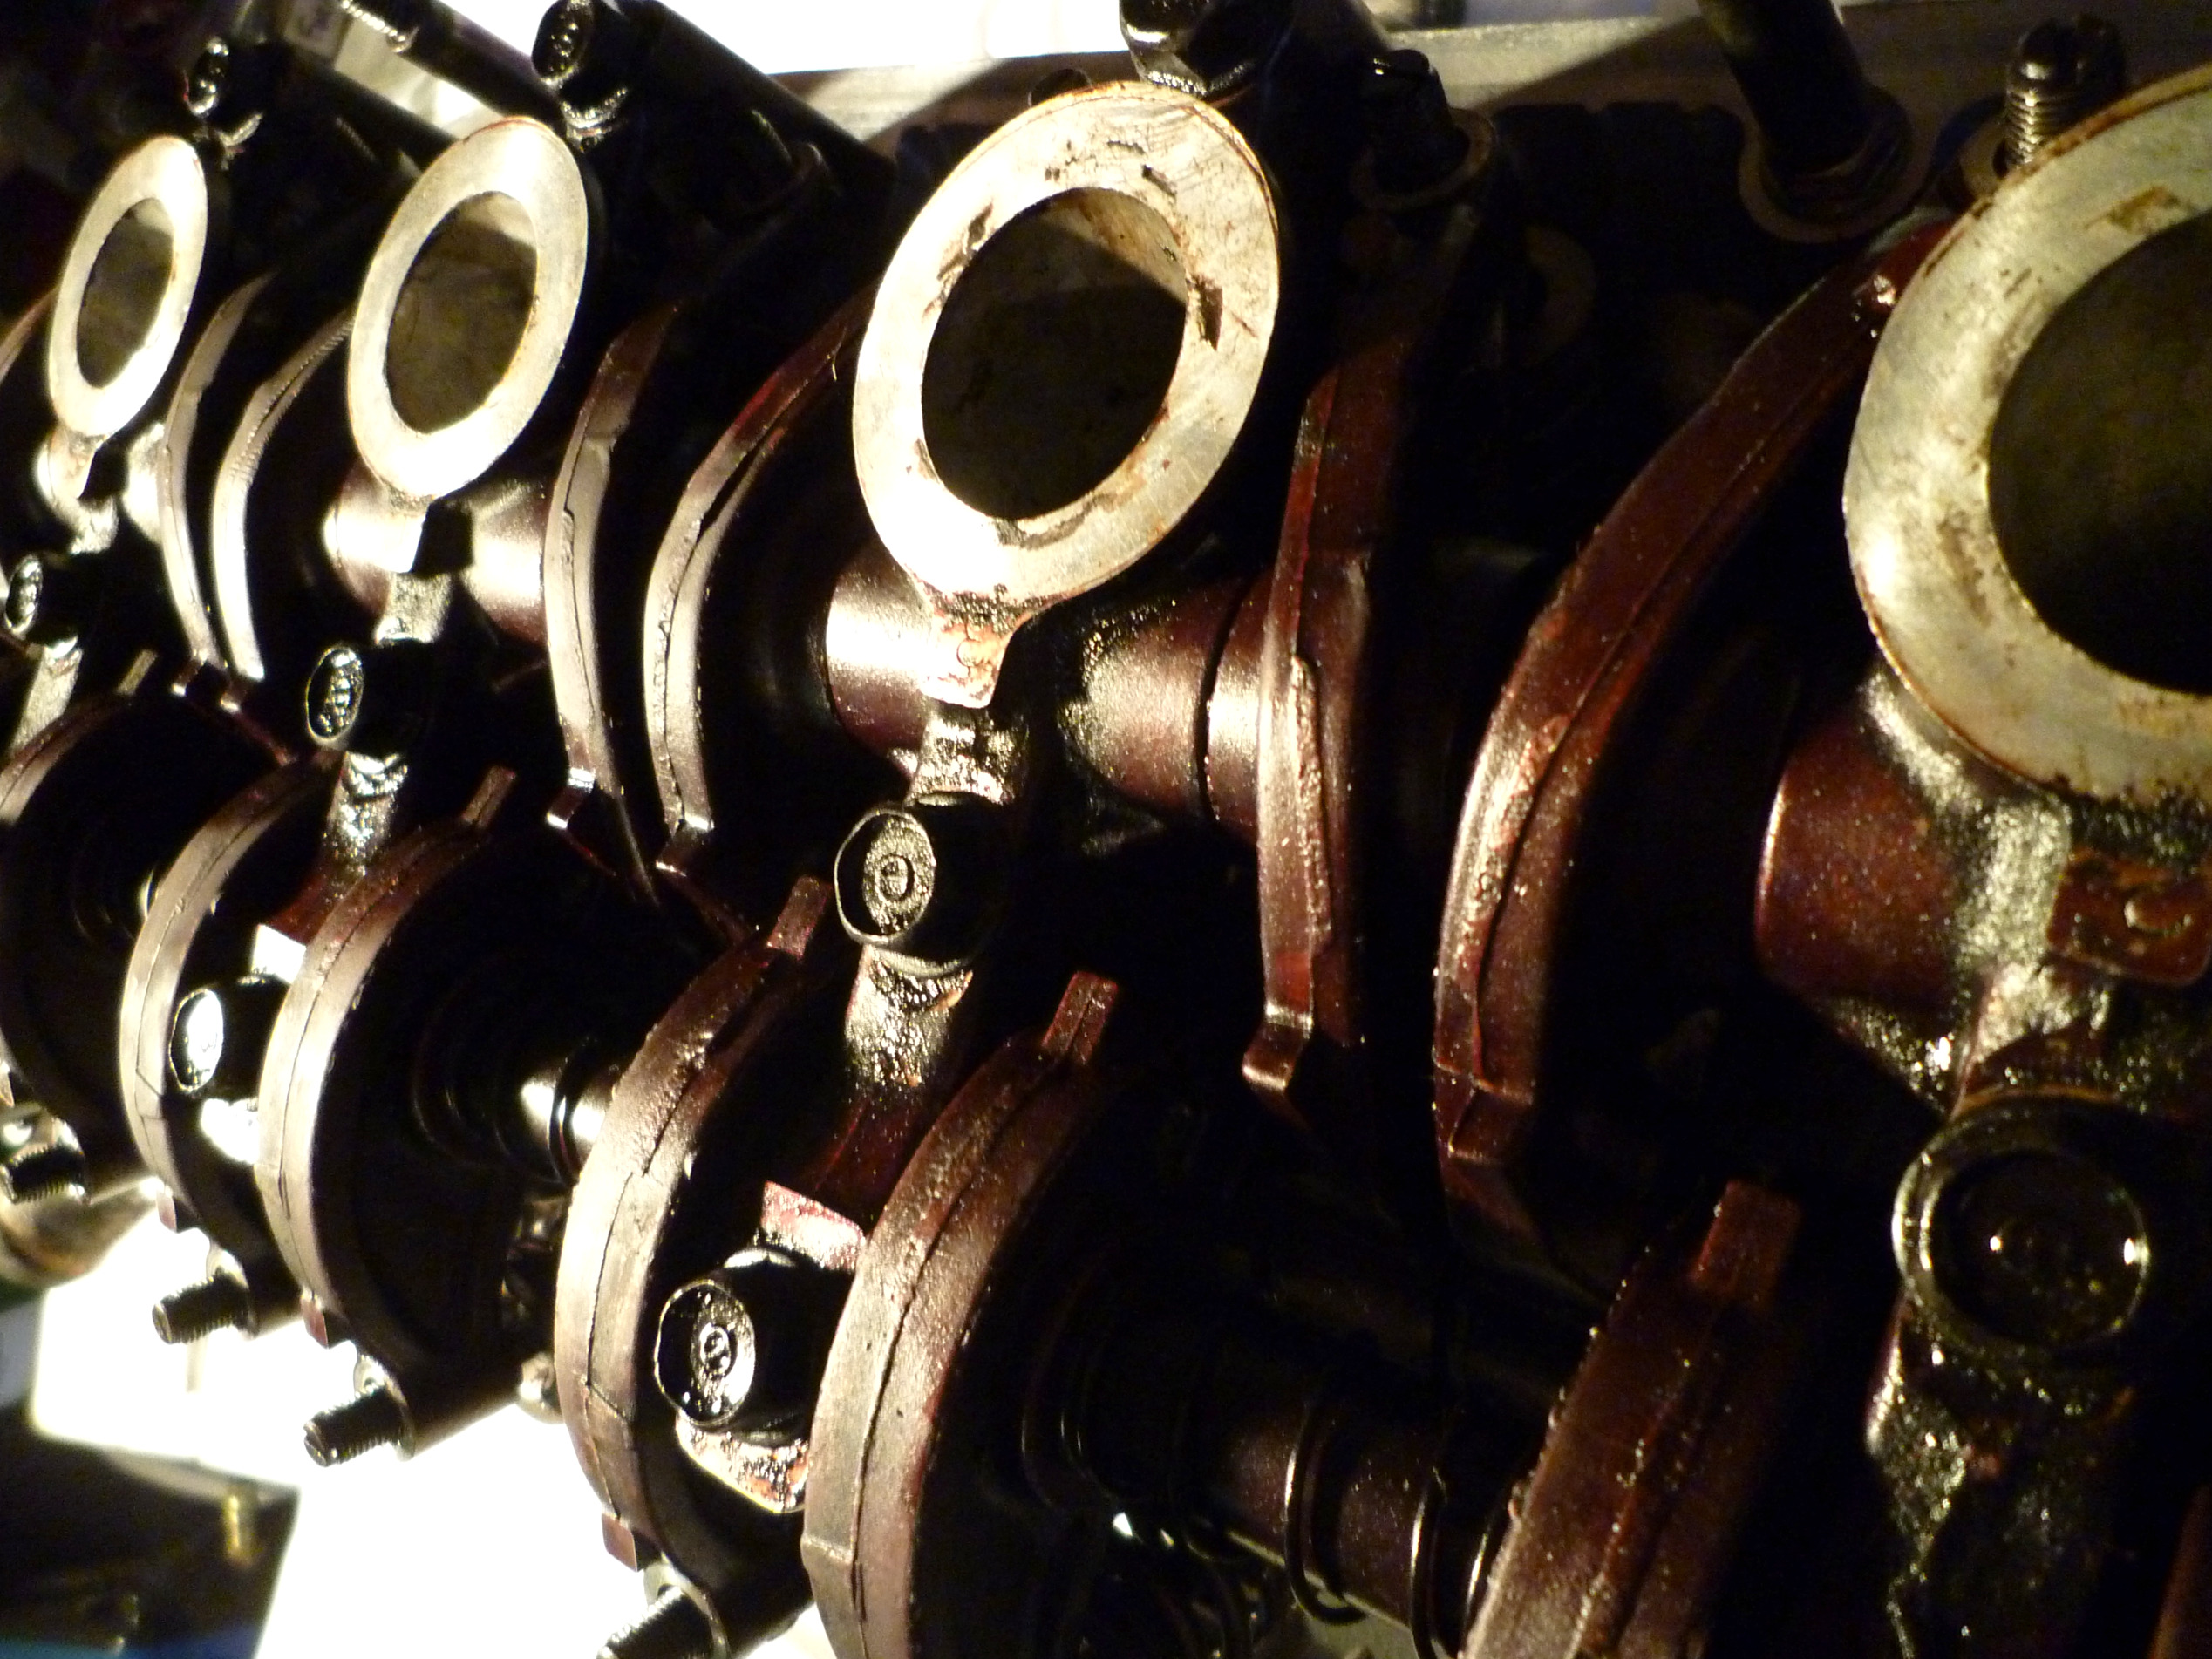
As I discussed in my previous post, after removing the engine it became clear the best thing to do was to keep the engine I had. I ordered some needed parts (gaskets, mostly) online. We detached the head from everything else and I took it in for resurfacing to a local machine shop, Action Machine. I had a great experience with them – they were friendly and nice, and reasonably priced. Because I knew just enough to sound knowledgeable, I was able to chat with the guy while dropping off the head, and found that he could sell me the head gasket and head bolts for much less than I had been able to find anywhere online.
A handful of other specialized parts had to be ordered from my local Honda dealer (luckily nothing too expensive), and we stopped at Schucks for the more pedestrian things like fluids and filters. Overall, I spent $259.98 on parts, plus $64.50 for the head resurfacing; a total of $324.48 – significantly less than the $1700+ quoted to me by the mechanic. Doing the labor myself saved me about $1400.
Then followed a long weekend of work on the car. Saturday was very discouraging. We spent a lot of time carefully scraping off the old gaskets, then realized we were missing some important (new) gaskets and had to make a second trip to the dealer. By the end of the day, we’d only just put the head back on the block. Adding to the aggravation and the feeling things were taking forever was the fact that the head bolts must be tightened in a very specific pattern, three times each. That is, we had to go through the bolts (in the pattern) three times, tightening to the next torque setting each time. Quite a pain, but we were careful and followed the directions to the letter.
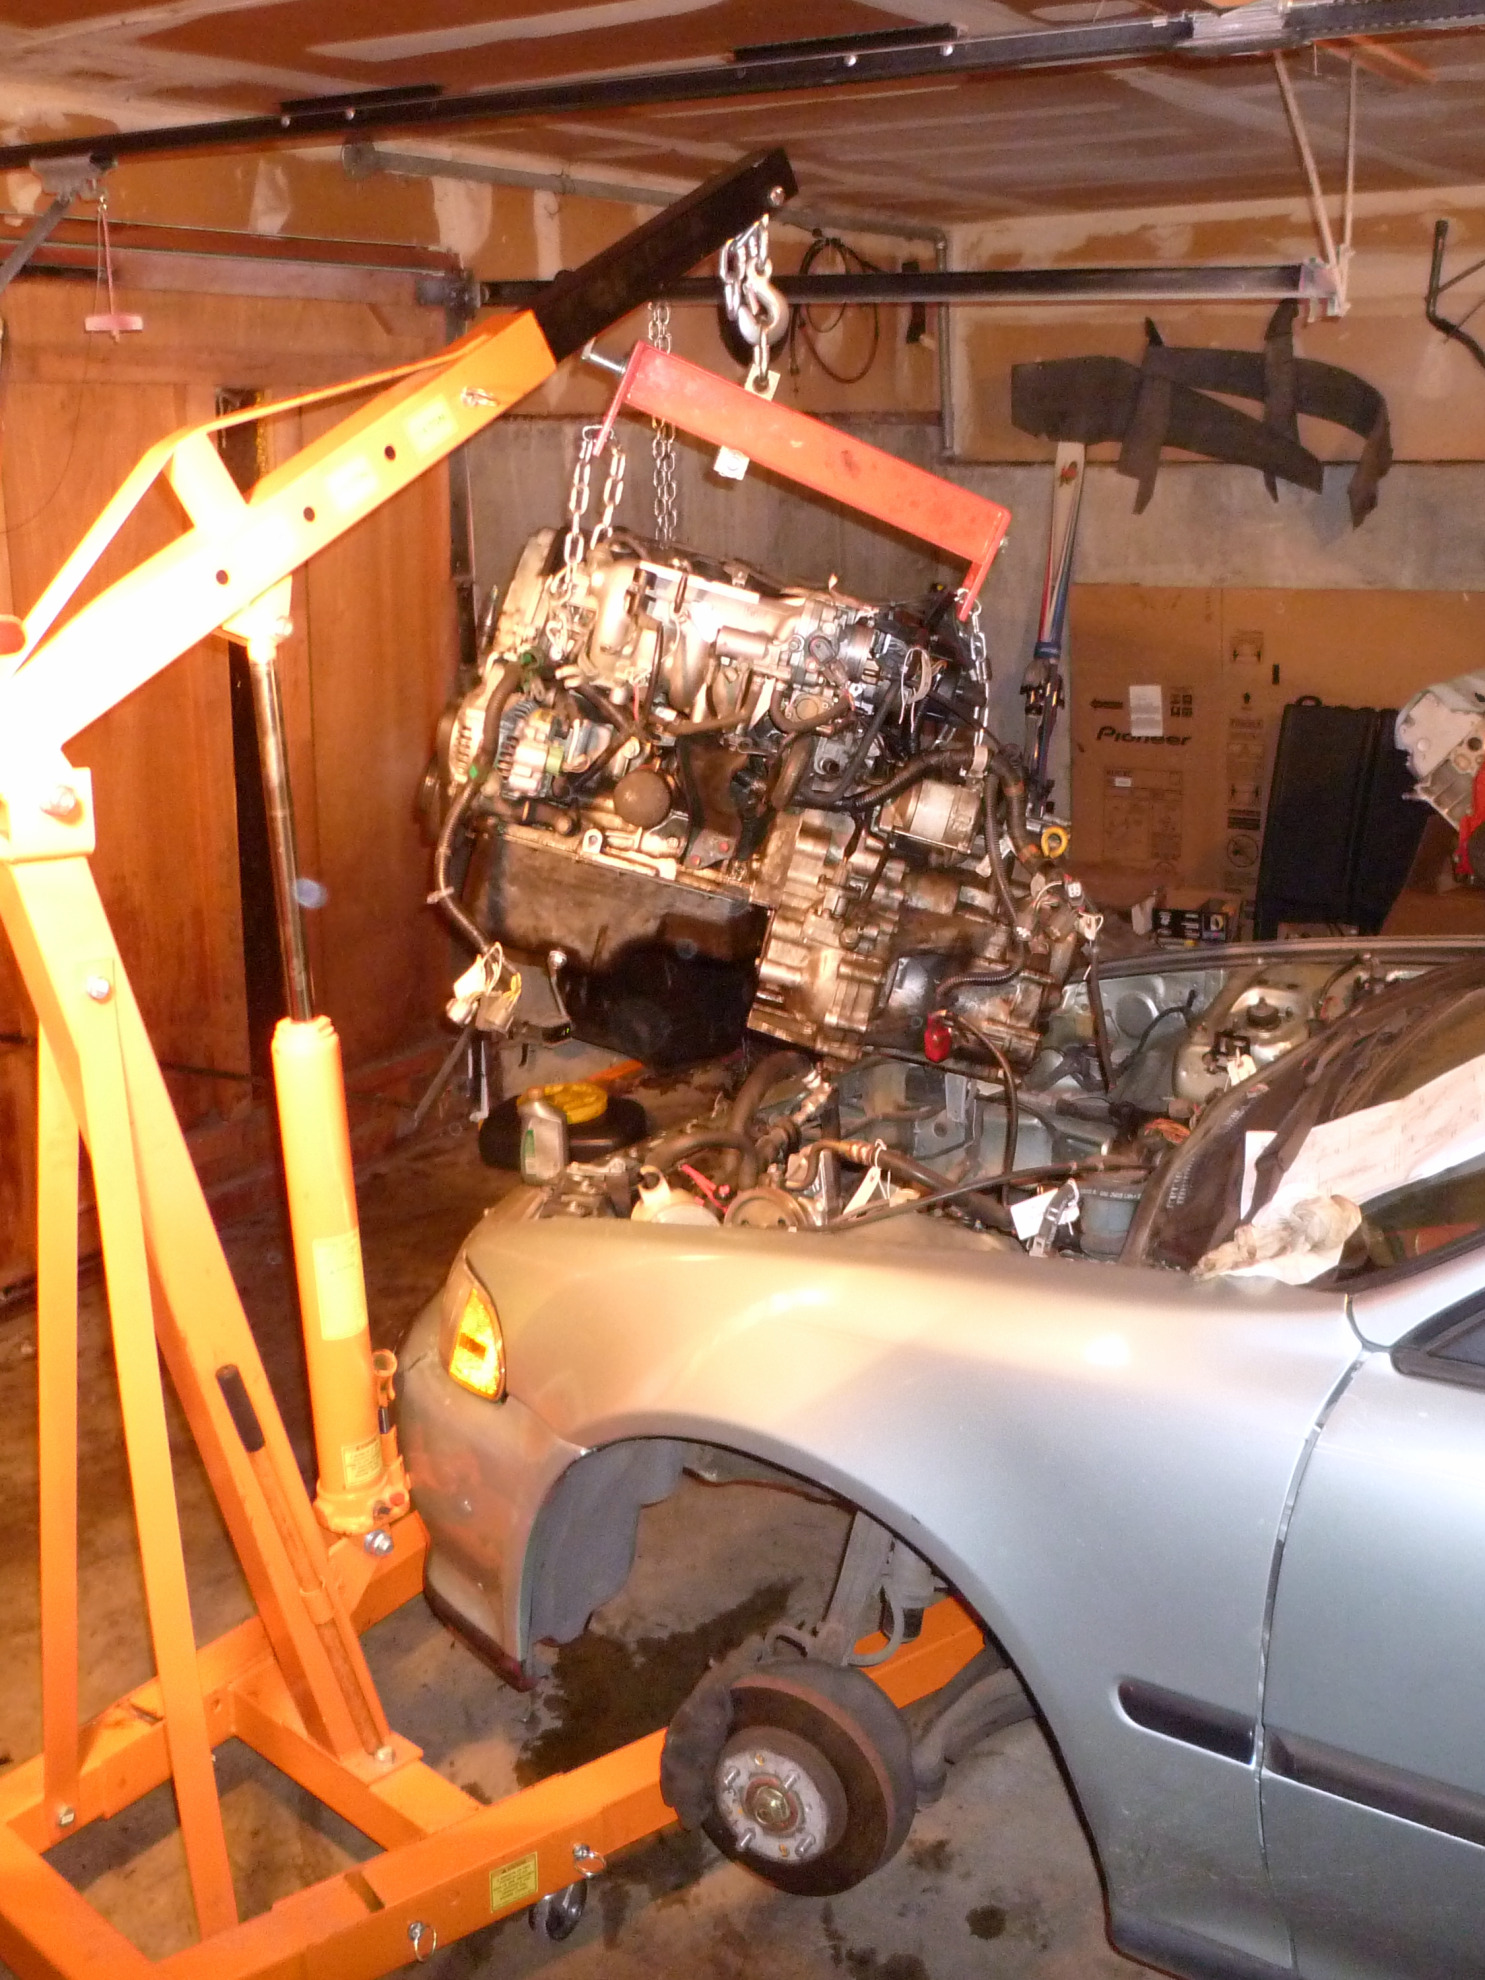
The next day, Sunday, things picked up. We finished reattaching all the other engine parts that we had removed (transmission, wiring harness, distributor, etc). By the evening, we were able to hoist the engine back in the car and attach a few of the mounting bolts. It felt really good to pass that milestone and have the visual confirmation of the engine inside the car.
Filed under: handiwork, learning
| « Car project (entry 2 of 4) | Car project (entry 4 of 4) » |


Leave a Comment